How to backup a Windows 2019 file server cluster
A cluster ensures high availability but does not protect against accidental data loss. For example, if a user (or malware) deletes a file from a Microsoft Windows file server cluster, you want to be able to restore that data. So, backup for data on clusters is still necessary. But also, it can save much time for the Windows operating system to have a full backup. Imagine that one of the cluster member servers has a hardware issue and needs to be replaced. You could manually install Windows, install all updates, install all the drivers, join the cluster again and then remove the old cluster member, or you could simply do a bare metal restore with Veeam Agent for Microsoft Windows.
Backup and restore of physical Windows clusters is supported by Veeam Backup & Replication with Veeam Agent for Microsoft Windows. It can backup Windows clusters with shared disks (e.g., a classic file-server cluster) or shared nothing clusters like Microsoft Exchange DAG or SQL Always-On clusters. In this article I will show how to backup a file server cluster with a shared disk. Earlier blog post ( How to create a file server cluster with Windows 2019) show the setup of the system.
The backup of a cluster requires three steps:
- Creating a protection group
- Creating a backup job
- Starting the backup job
Create a protection group
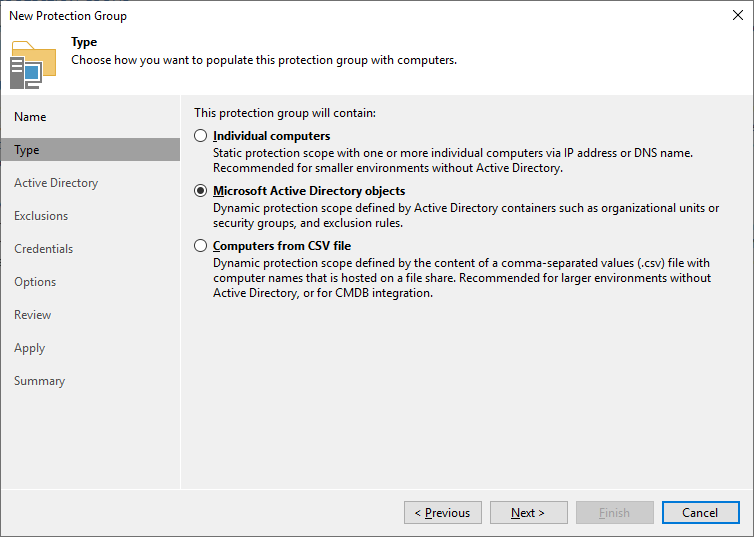
A Veeam Backup & Replication protection group is a logical unit to group multiple machines to one logical unit. But it’s not only used for grouping, it manages the agent deployment to the computers. Go to the inventory and select “physical and cloud infrastructure” to create a new protection group. After defining a name, you need to choose the type “Microsoft Active Directory objects”.
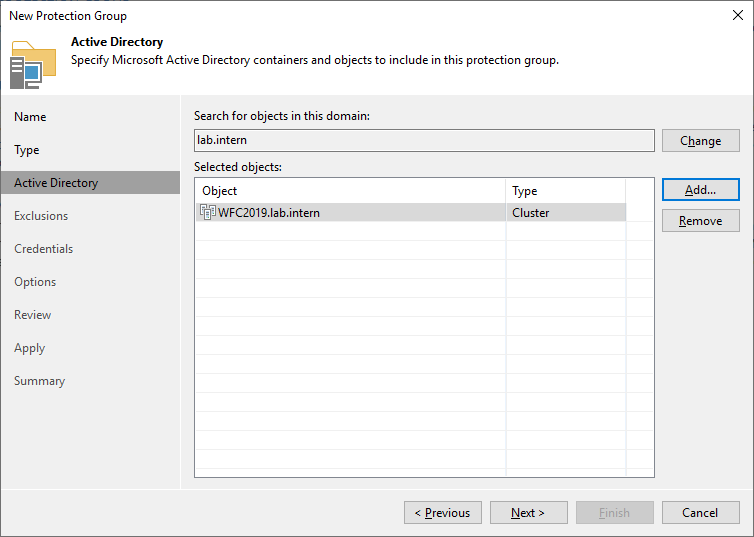
In the next step, select the cluster object. In my case, it’s “WFC2019”
Only add the Active Directory cluster here. You don’t need to add the nodes here. You can also find the cluster object in Active Directory Users and Computers
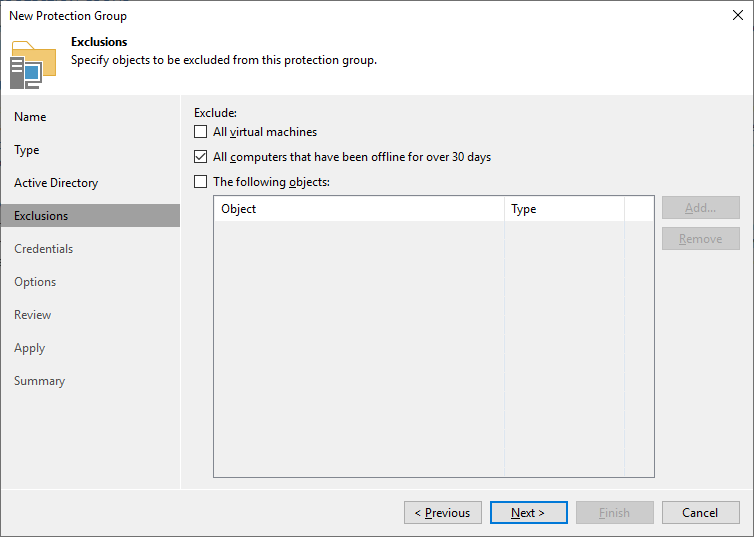
As I run my cluster as a virtual machine (VM), I do not want to exclude VMs from processing.
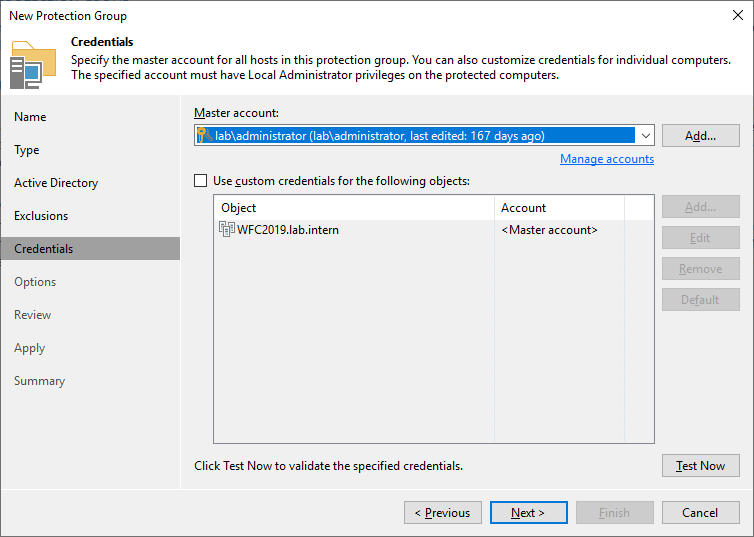
In the next step, you must specify a user that has local administrator privileges. In my lab I simplified everything by using the domain administrator
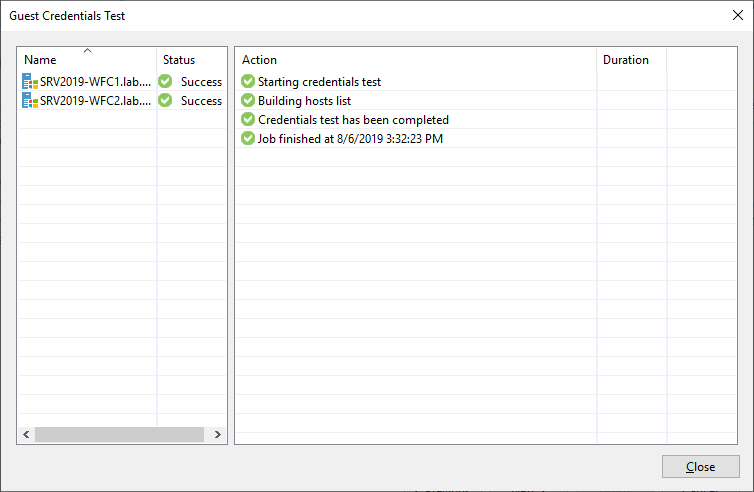
It is always a good idea to test the credentials. This ensures that no problems (e.g., firewall issues) occur during agent deployment.
The options page is more interesting. Veeam regularly scans for changes and then deploys or updates the agent automatically.
The distribution server is the machine that deploys the agents. In most cases, the backup server is also fine as distribution server. Reasons for dedicated distribution servers would be if you have branch office deployments or when you plan to deploy a hundred or more agents.
On large servers we recommend installing the change block tracking driver for better incremental backup performance. Keep in mind that the driver requires a reboot during installation and updates.
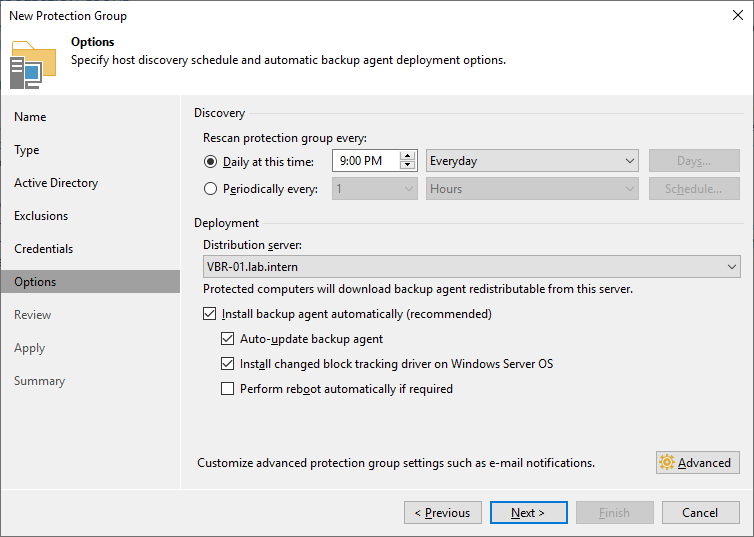
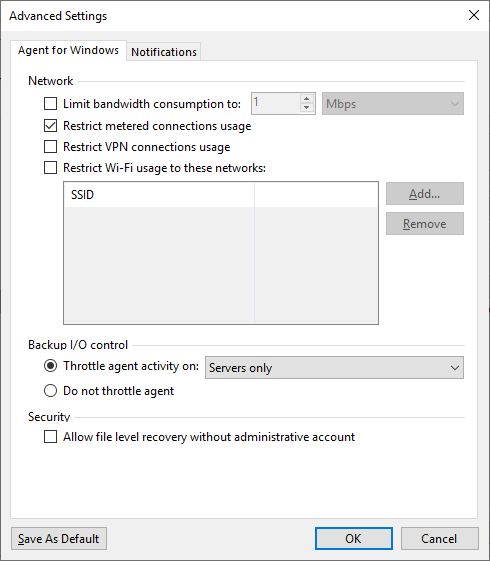
In the advanced settings, you can find a setting that is particularly relevant from a performance perspective: Backup I/O control. It throttles the agent if the server has too high of a load.
You can reboot directly from the Veeam Backup & Replication console.
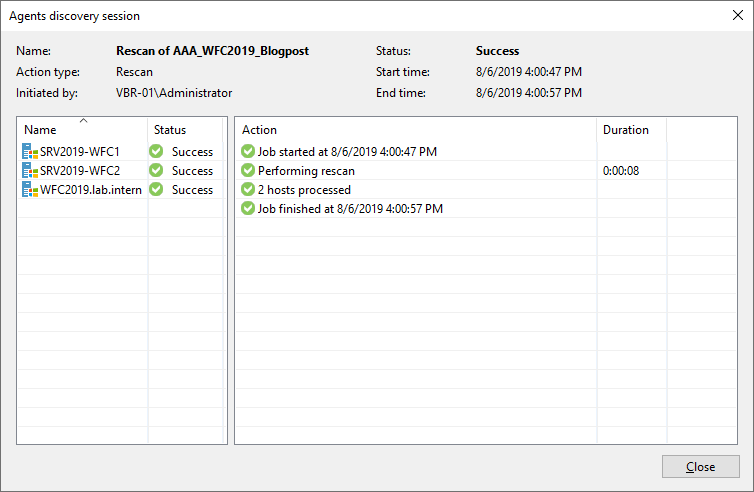
After the installation has succeeded and no reboots are pending anymore, the rescan shows that everything’s okay.
Create a backup job
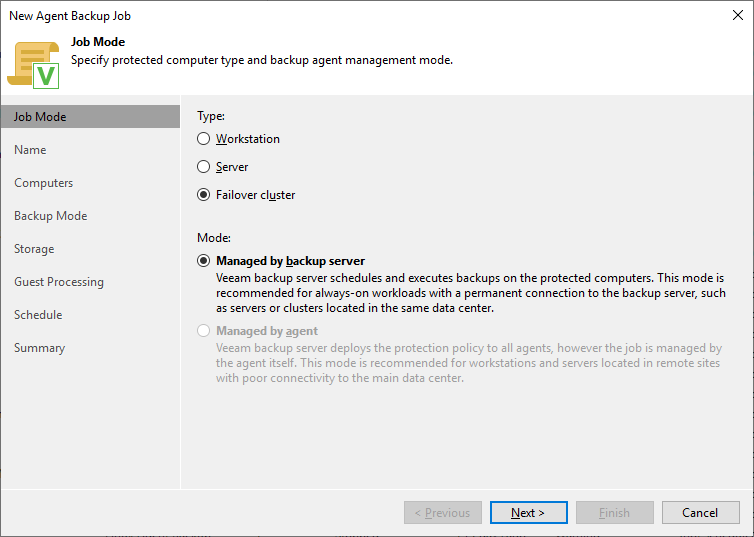
The second step is to create a backup job. Just go to the jobs section in “home” and select to create a new backup job for a Windows computer. At the first step, select the type “failover cluster”.
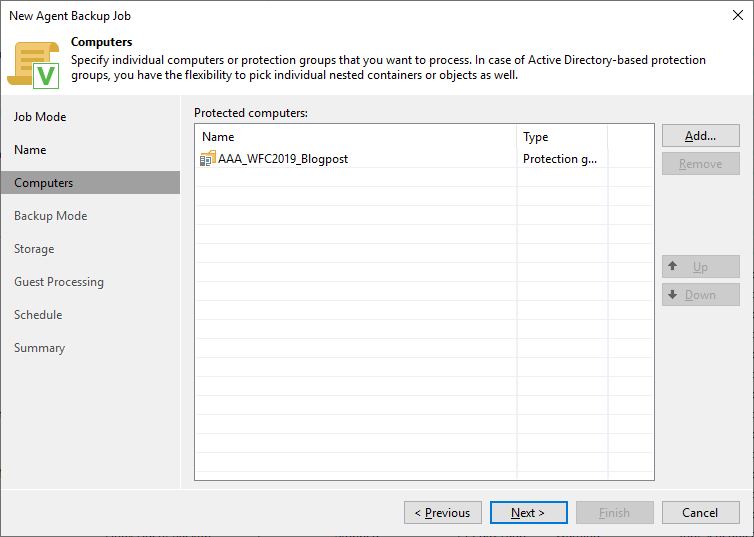
Give a name to the backup job and add the protection group created earlier.
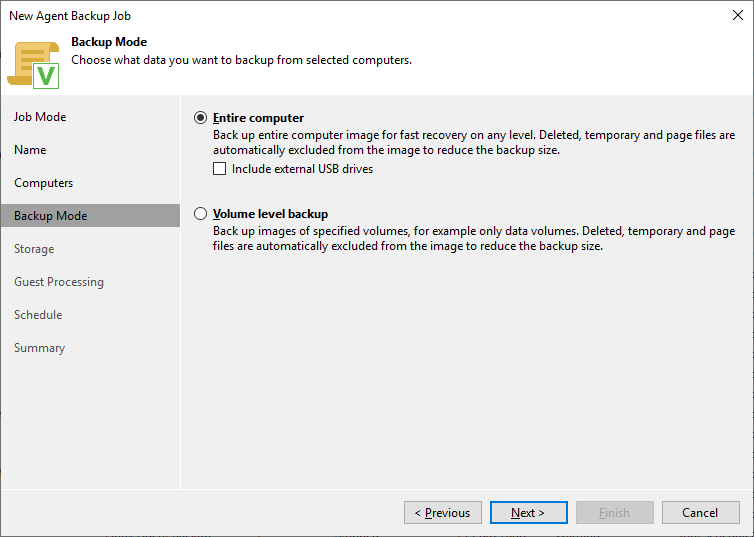
I want to back up everything (e.g., the entire computer)
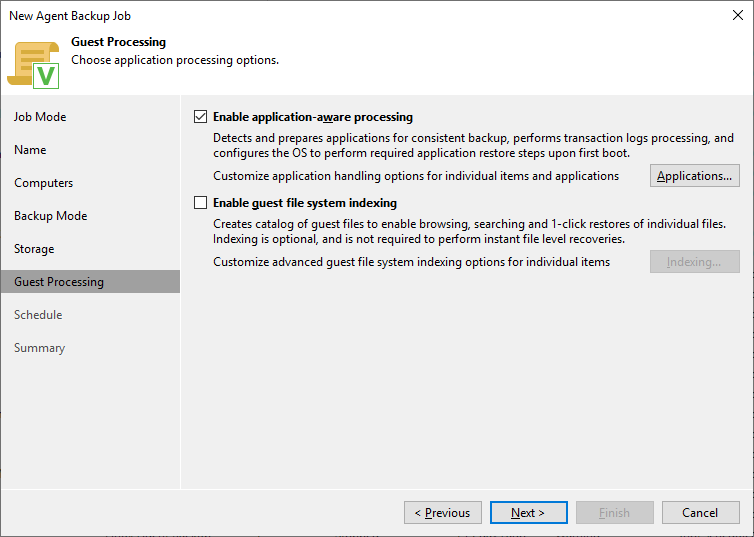
Then, select how long you want to store the backups and where you want to store them. The next section, “guest processing,” is more interesting. Veeam Agent for Microsoft Windows always does backups based on VSS snapshots. That means that the backup is always consistent from a file-level perspective. For application servers (e.g., SQL, Microsoft Exchange) you might want to configure log shipping settings. For this simple file-server example no additional configuration is needed.
Finally, you can configure a backup schedule.
Run the backup job
Running a Veeam Agent for Microsoft Windows backup job is the same as a classic VM backup job. The only thing you might notice is that a cluster backup does not use per-host-backup-chains if you configured your repository to “per-VM backup files”. All the data from the cluster members of one job is stored in one backup chain.
Another thing to note is that the failover of a cluster does not result in a new full backup. There is not even a change-block-tracking reset (e.g., CBT-reset) in most failover situations. A failover cluster backup always does block-level backup (e.g., image-level backup). Of course, you can do single-item or file-level restore from block level backups.
During the backup, Veeam will also collect the recovery media data. This data is required for a bare-metal or full-cluster restore.
Next steps and restore
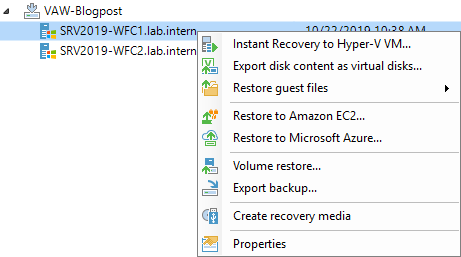
After a successful backup, you can do restores. The user interface offers all the options that are available for Veeam Agent for Microsoft Windows restores. In most cases, the restores will be file-level or application restores. For Windows failover clusters, the restore of Microsoft Exchange and SQL is possible (and is not shown in the screenshot because it’s a file server). For non-clustered systems, there are additional options for Microsoft Active Directory, SharePoint and Oracle databases.
Download Veeam Agent for Microsoft Windows below and give this flow a try.
This article was provided by our service partner : veeam.com

